Installers
Design & construction manual
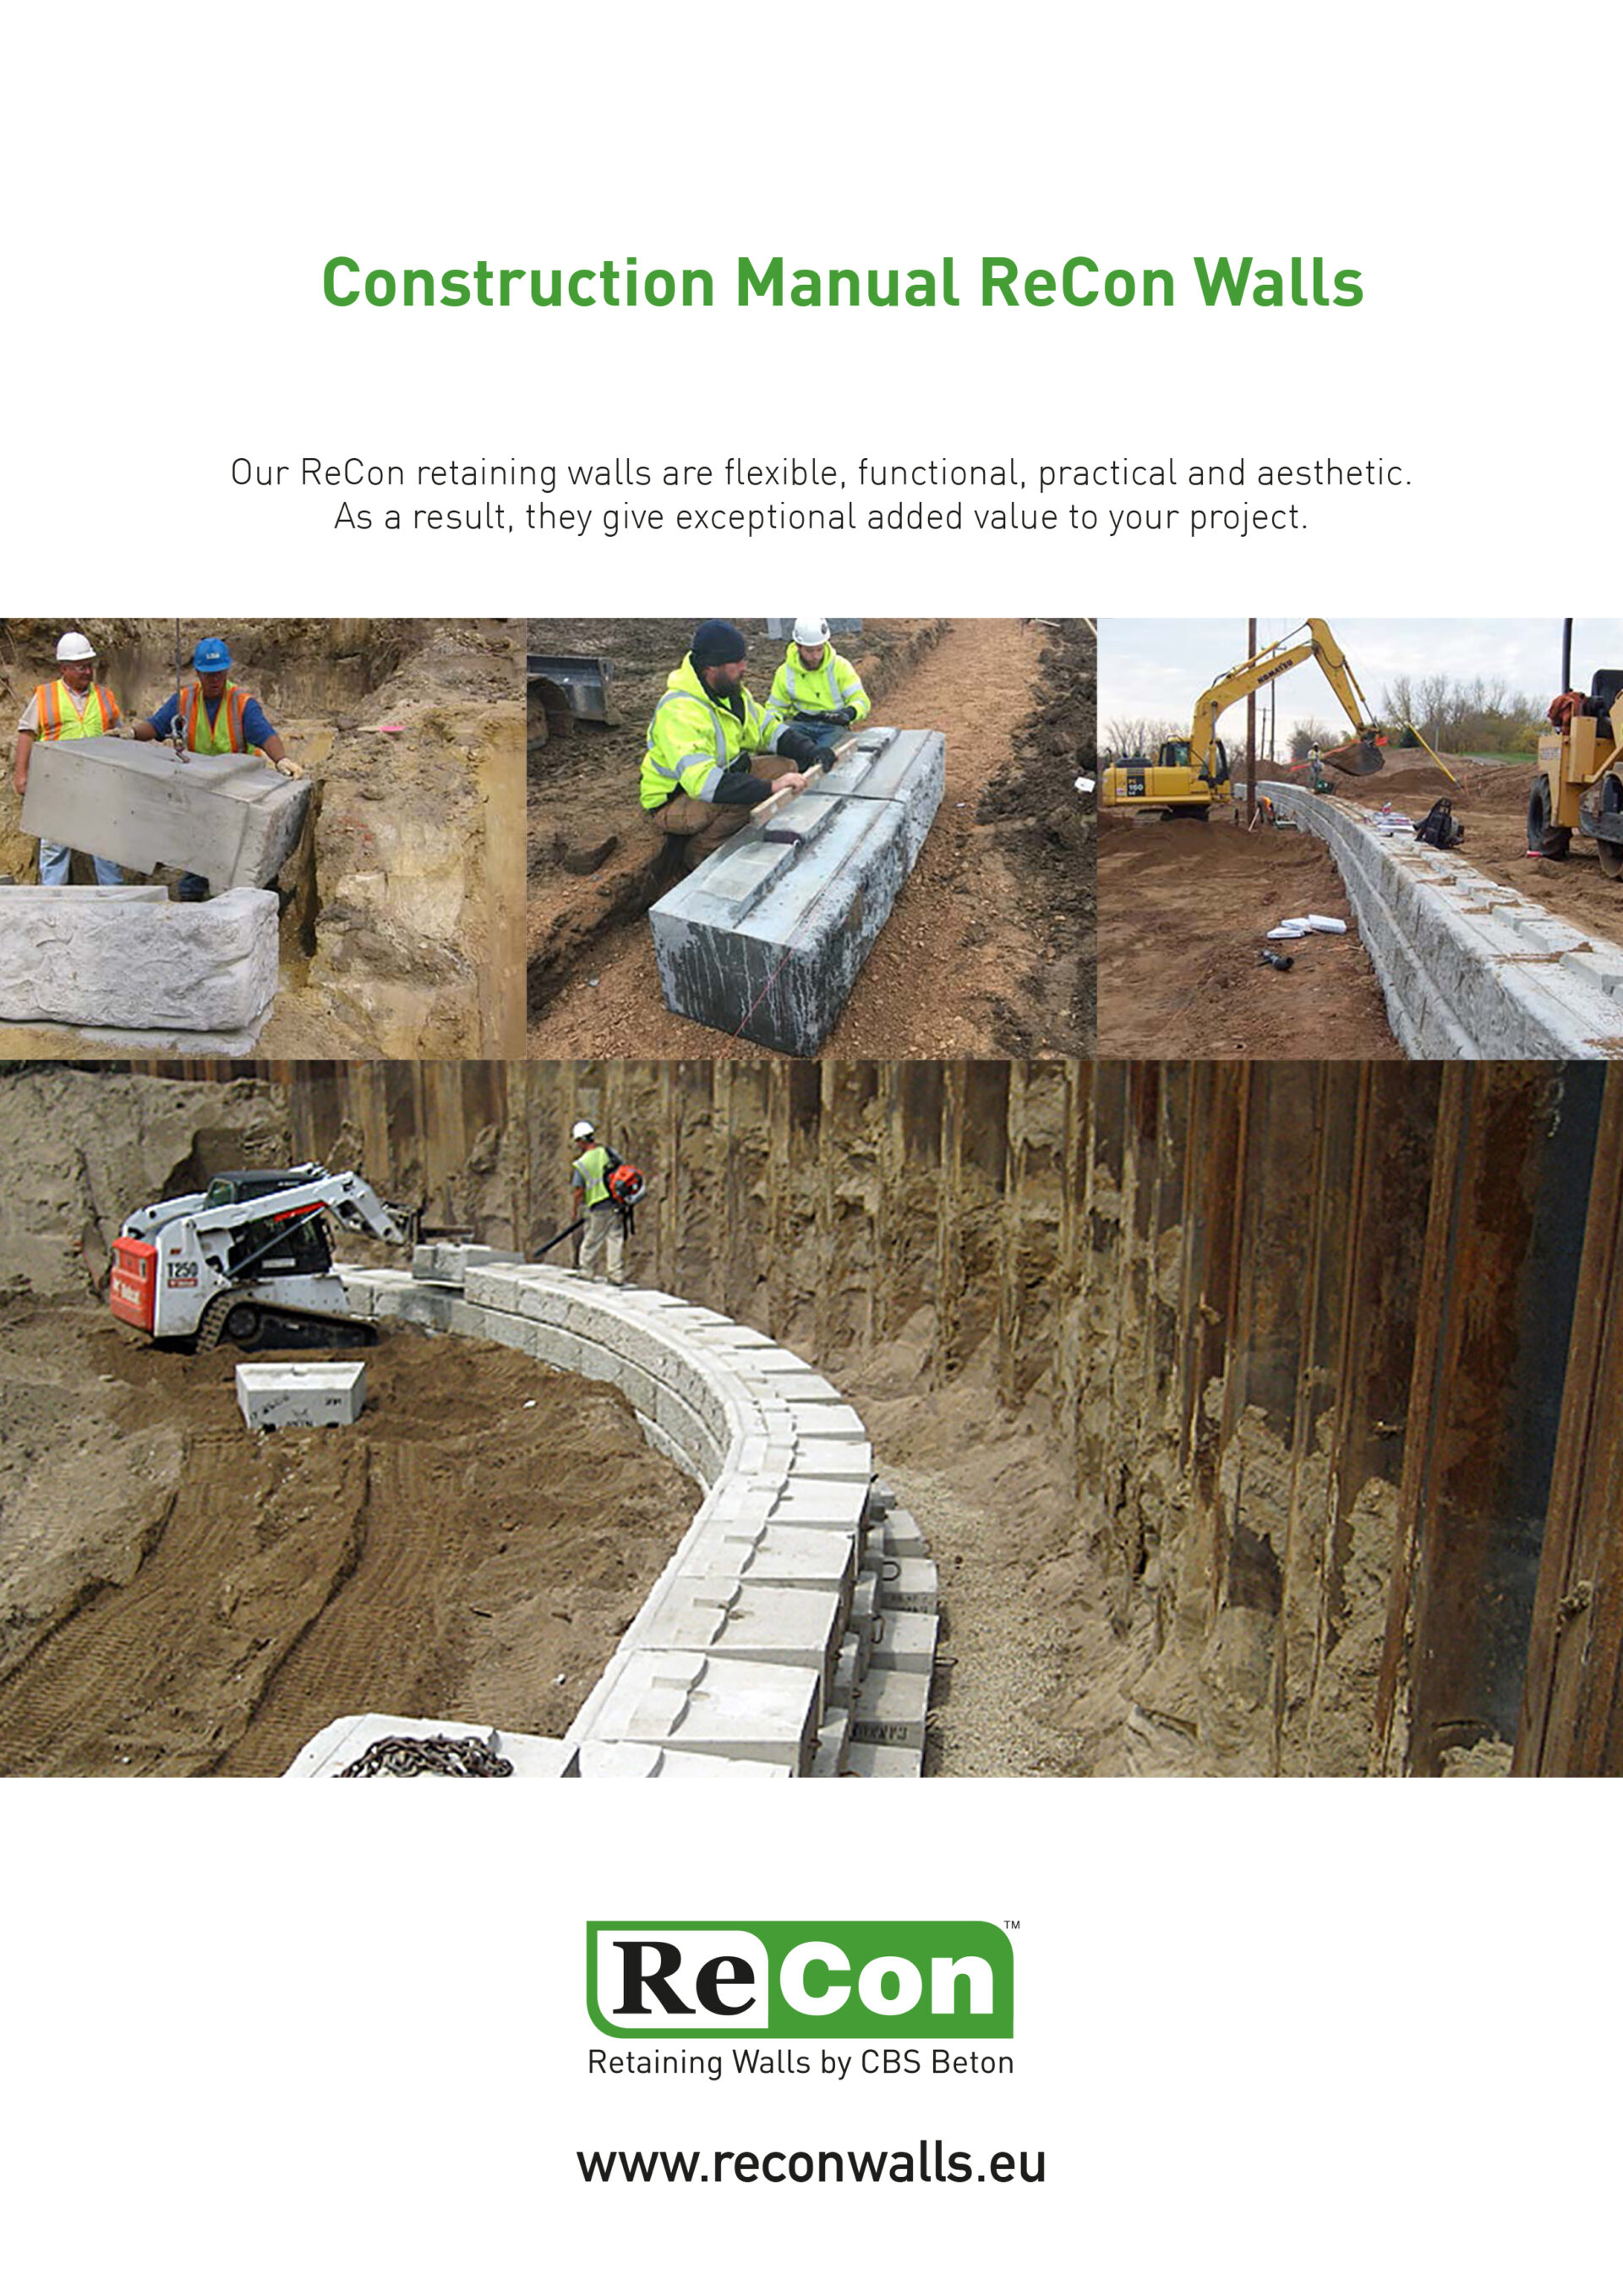
As a ReCon Walls team, we are proud of the tradition of offering large retaining wall solutions that add value for our customers as well as for our retaining wall design and construction partners.
It is our intention to solve site specific challenges, whatever the project, and to add value for all our customers and partners, not forgetting that the ReCon Walls application focusses on the scale and aesthetics of the ReCon Walls Block, the durability of the wet-cast, air-entrained concrete retaining wall blocks, the considerable gravity retaining wall heights that can be achieved, or the construction efficiencies associated with our product. A number of important variables must be analyzed before a proper retaining wall design can be finalized. This is due to the fact that the ReCon Walls units themselves are just a key component in what is a more complex and interdependent composite earthen structure.
Even if the design of a ReCon Walls segmental retaining wall may be quite complex and involve a high degree of geotechnical and/or civil engineering expertise, the steps involved in the construction of a ReCon Walls retaining wall appear relatively simple. However, the construction of our retaining walls is subject to strict procedures which are critical to be followed properly if the retaining wall is to last and perform as designed.
This manual is intended to provide retaining wall designers and engineers, retaining wall installers and others with the information useful in the design, the construction and cost estimation of a ReCon Walls retaining wall that will remain attractive and structurally stable for the duration of its intended design life.
Why do installers LOVE ReCon Walls!
Installers who have worked with ReCon Walls blocks tend to agree on a few key points:
- The retaining wall system saves you time on installation and money
- The knob and groove design of the blocks makes you easy to work with
- Your team likes the speed, You are able to build large walls with relatively small materials.
- You don’t need large cranes to place the blocks on top of each other.
- Our customers love the results
The ReCon Walls Installation Guide
Anything worth doing is worth doing right, right? To ensure proper installation and construction of ReCon Walls, make sure you have a copy of the ReCon Walls Installation Guide!
- Preconstruction checklist
- Detailed installation instructions
- Construction details
- And more
Typical construction detail drawings
At ReCon Walls we recognize that providing clear and meaningful guidance to both retaining wall designers and to retaining wall contractors is essential. Check out our comprehensive set of Details.
Installation overview
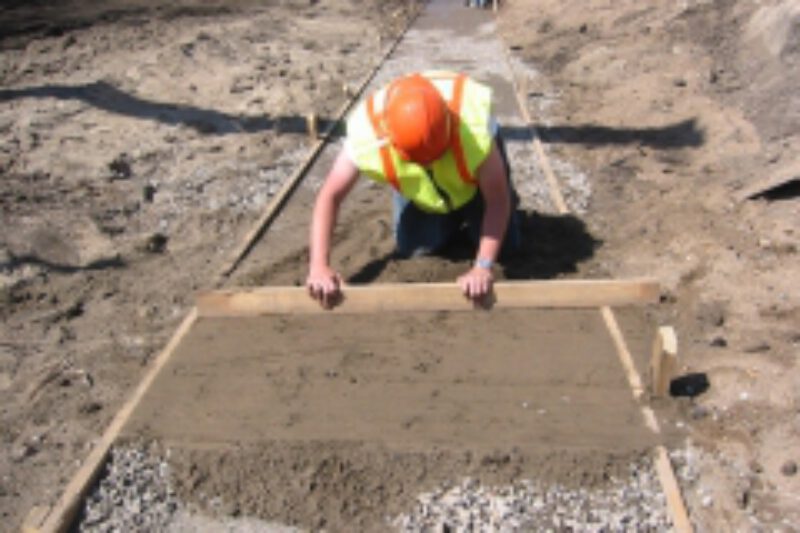
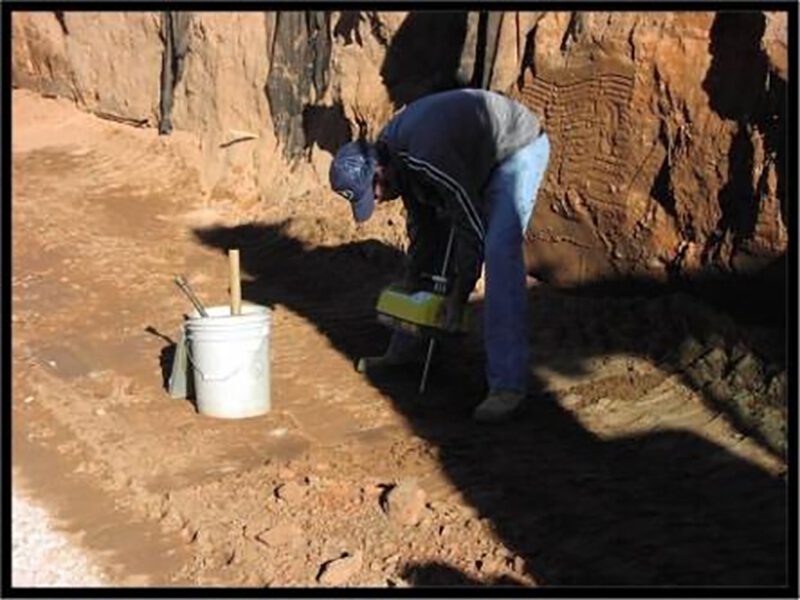
Step 1) Preparing the Leveling Pad
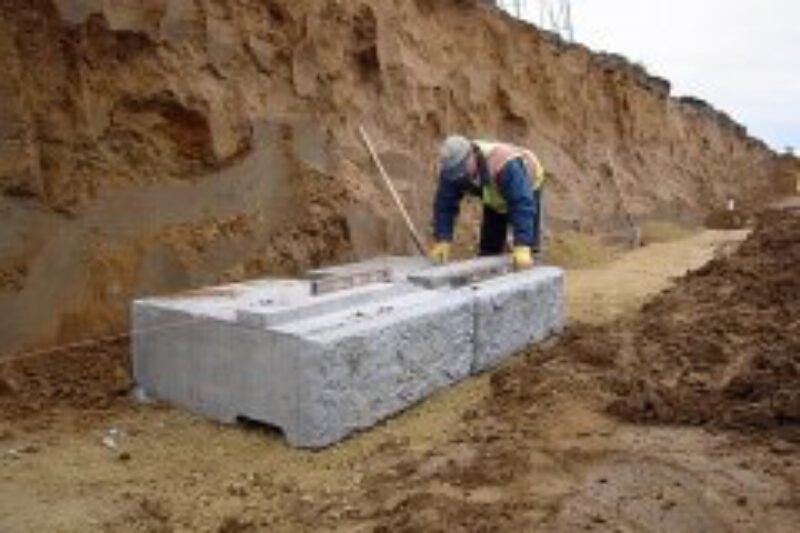
Stap 2) Base Course Installation and leveling
Step 3) Install Drain Tile (Filter Fabric)
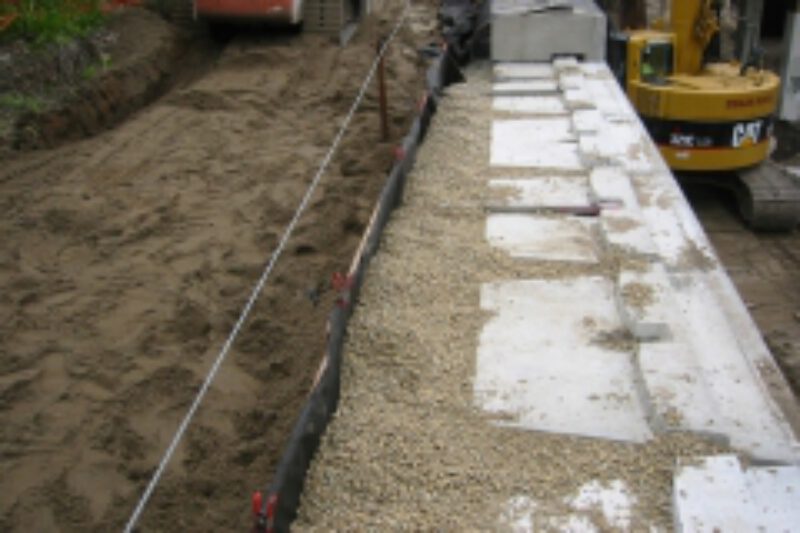
Stap 4) Install Drainage material
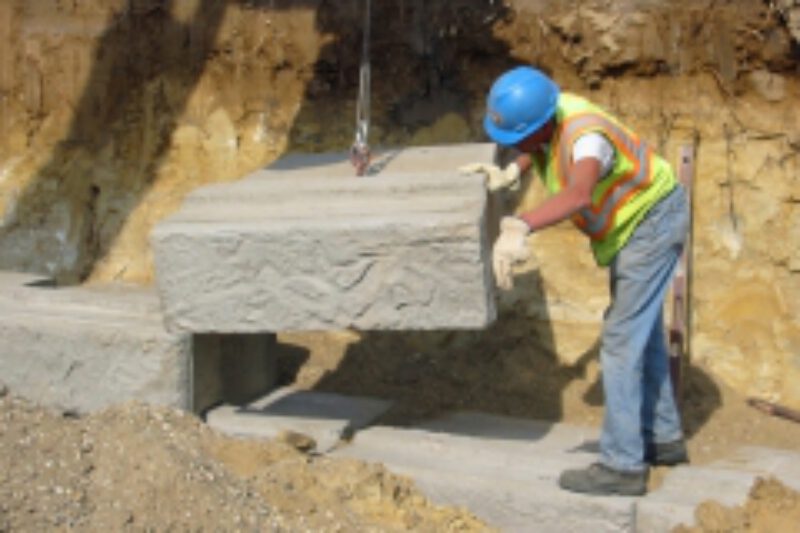
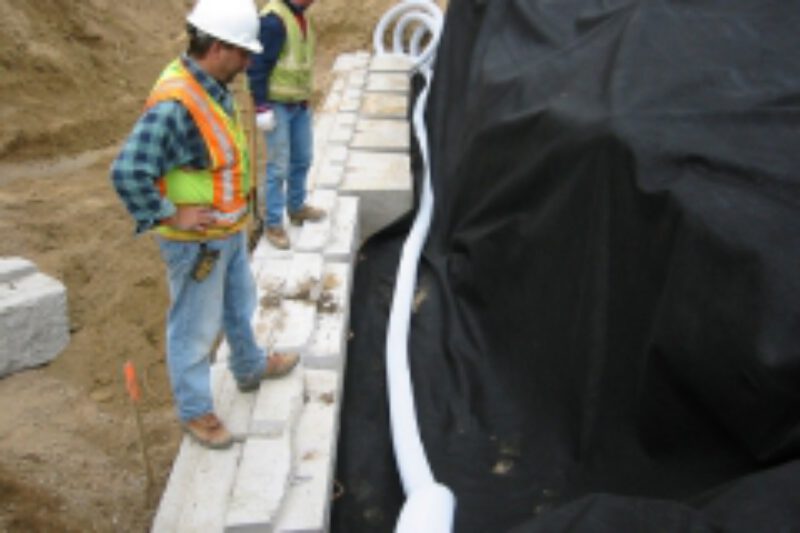
Step 5a) Install courses-gravity Wall

Step 5b) Install Additional courses-gravity Wall
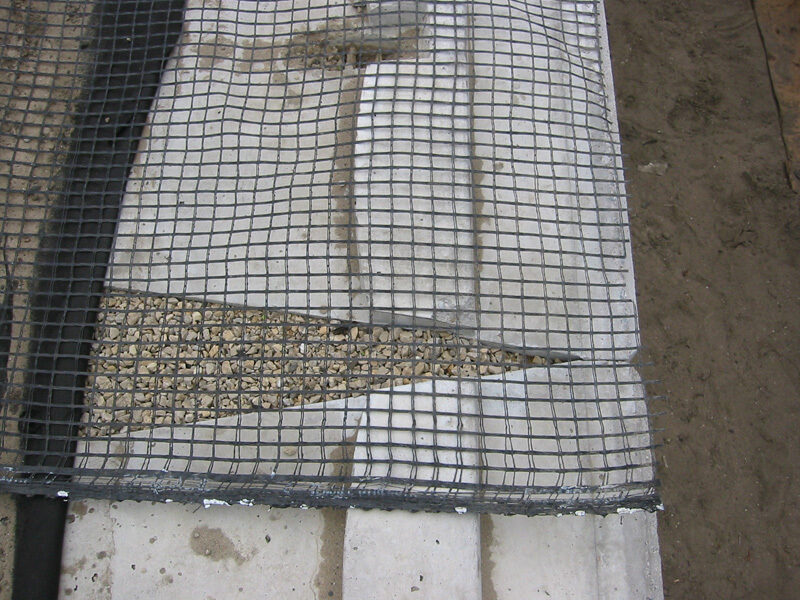
Step 5c) Install geogrid (when required)
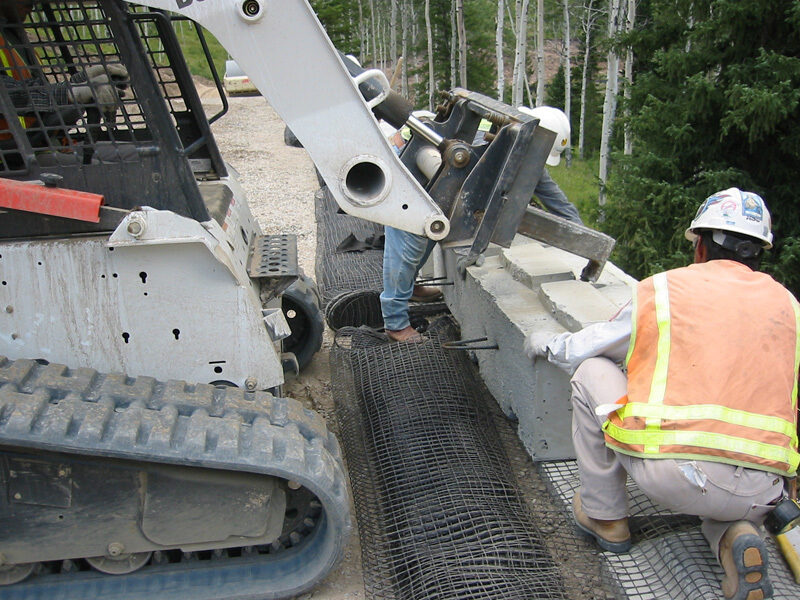
Step 5d) Install additional courses-geogrid Wall
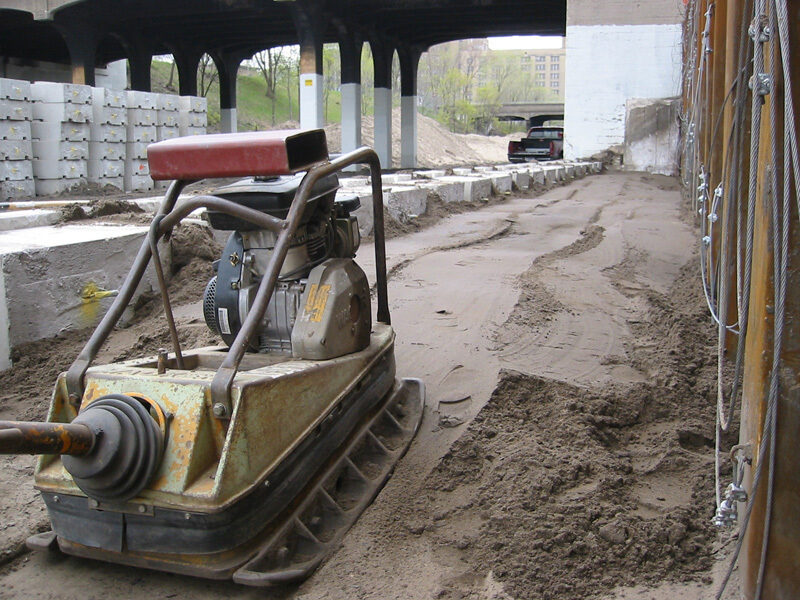
Step 6) Backfill and compact